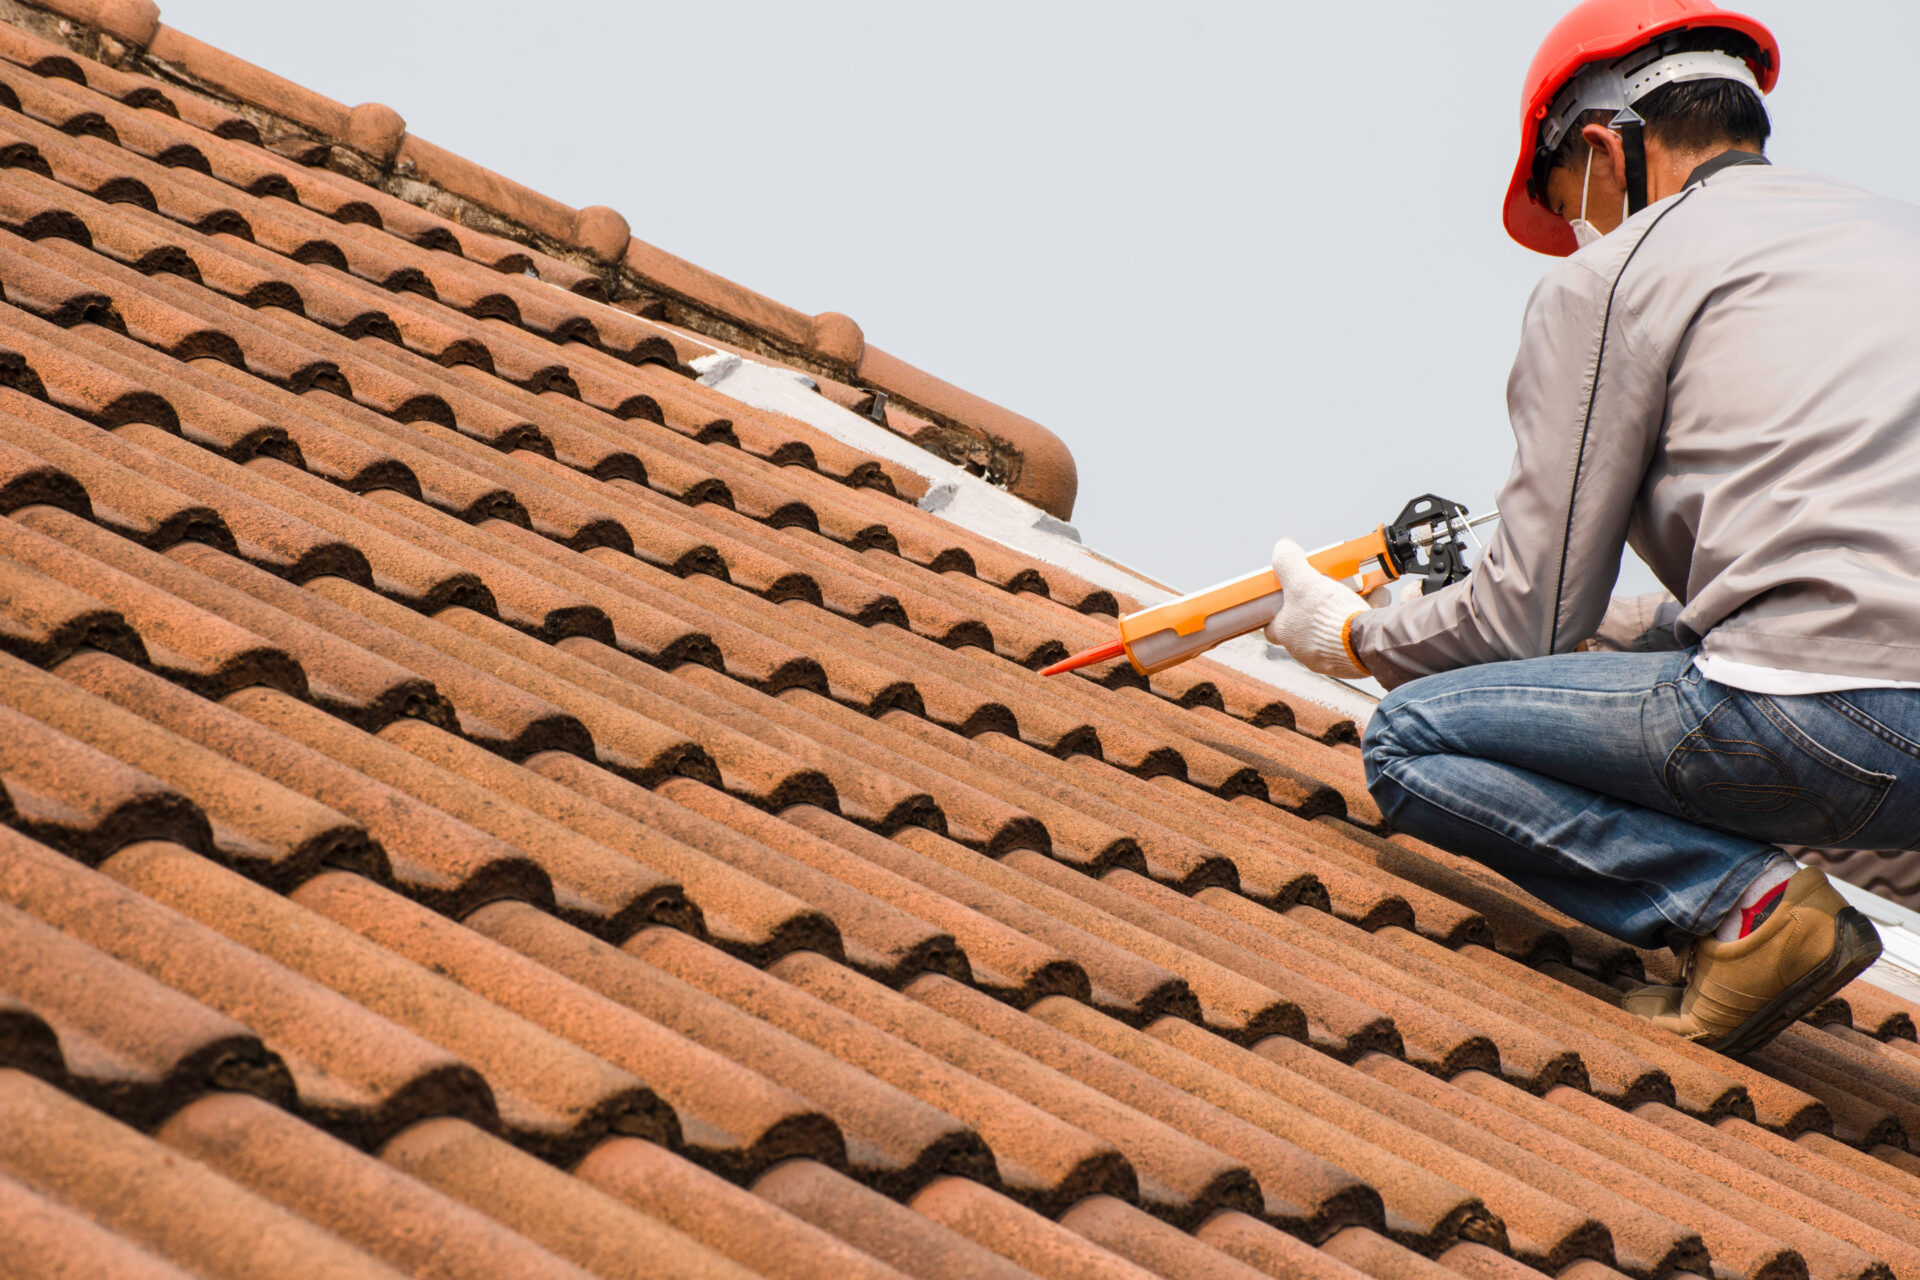
How do you safely check for roof leaks after a severe storm without risking your safety?
Right after heavy wind and rain, it is tempting to climb onto the roof and search for water intrusion, but you should always put safety first. Instead of grabbing a ladder, start by carefully inspecting inside your house for damp ceilings, water stains or peeling paint that signal leaks.Walk around the outside of your home and look for missing shingles, cracked tiles or damaged flashing. These weak spots are often where leaks begin after storm damage. Also, check your attic with a flashlight for wet insulation, pools of water and mold growth, which can indicate trouble points.If you spot any warning signs, avoid putting yourself at risk. Do not attempt repairs yourself in dangerous conditions; turn to leak detection experts who understand how to safely pinpoint hidden roof leaks. Fast, professional help can prevent expensive structural damage from spreading while guarding your well-being.
Understanding the definition of a roof leak after a severe storm
After a powerful storm, you might suddenly notice water stains, unexpected drips, or even damp ceilings. But what exactly is a roof leak? In scientific terms, a roof leak is when water, propelled by wind or gravity, penetrates the protective layers of your roof—be it tile, bitumen, or thatched—causing moisture intrusion into your home. This can lead to structural damage, insulation problems, and mold growth, all of which escalate quickly if you don’t act. The Royal Institute of British Architects notes that most leaks post-storm are directly linked to wind-driven rain, roof membrane failure, or impacted flashing.
How roof leaks develop and key risk factors
A roof leak tends not to be just a single hole—it’s often a symptom of underlying issues. After severe weather, vulnerabilities in your roof’s structure, such as missing shingles, ripped flashing, clogged gutters, and poorly sealed vents, become prime entry points for water. Engineering experts like Professor Jan Hendriks from TU Delft highlight that post-storm roof leaks can arise not just from physical damage but also from rapid shifts in air pressure, which lift roofing materials apart. For flat roofs, ponding water and aged bituminous layers are especially at risk.
- Debris impact – Falling branches or objects can puncture roofing materials, creating direct entry points for rainwater.
- Wind-lifted shingles or tiles – Gusts during a storm can dislodge or lift roofing materials, leaving gaps open for leaks.
- Poor drainage – Clogged or damaged gutters and downspouts prevent efficient runoff, causing pooling and seepage.
- Damaged flashing – Flashings, those thin strips around chimneys and skylights, are easily bent or dislodged, allowing water ingress.
- Worn underlays – Roofing underlays, if degraded, fail to repel water that gets past outer layers.
Why safety always comes first in post-storm roof inspection
Climbing onto a storm-battered roof might feel urgent, but it’s hazardous—and avoidable. Renowned organizations like the National Roofing Contractors Association urge homeowners to refrain from DIY inspections post-storm, citing accident statistics involving unstable ladders, slippery surfaces, and unseen damages. As VCA certified specialists ourselves at Ultrices Lekdetectie, we emphasize using a no-ladder approach unless safety guarantees are met. Always consider:
- Hidden structural damage – The storm may have weakened supports or joists, risking collapse.
- Live electrical wiring – Exposed wires near damp roof areas create electrocution hazards.
- Slippery surfaces – Moss, algae, and water residue dramatically increase fall risks.
- Unexpected collapses – Excess water accumulation may cause sudden breakthroughs.
- Ladder instability – Soft, soaked ground can destabilize ladders quickly.
You should always check for potential leaks from the inside, expanding your safety zone. If you notice water marks, drips, or a musty smell upstairs after the storm, that’s a solid warning of a hidden leak.
Step-by-step process to safely check for roof leaks after a storm
Keep your feet firmly on the ground or firmly inside your home for initial checks. Here is a proven, expert-backed process, blending advice from the Building Research Establishment and our own field-tested protocols:
- Visual inside inspection – Begin with your attic or top floor, using a torch to check for wet insulation, damp rafters, water drips, or visible daylight seeping in.
- Check for stain patterns and musty odours – Follow suspicious stains on walls or ceilings; trace their source upwards. Damp smells point to current water intrusion.
- Use moisture meters – Devices from brands like Extech or Protimeter measure the moisture content in surfaces without requiring destructive access.
- Thermal imaging – Tools such as FLIR cameras help detect cold patches indicating dampness and leaks, especially when visual signs aren’t obvious.
- External ground inspection – Walk the perimeter for visible shingle loss, damaged gutters, fallen branches, and moved flashing—no need to climb up yet!
If you spot urgent issues (such as exposed underlayment or gaping holes), call in certified leak detection professionals like us for a rapid, safe, and thorough inspection.
Types of roofs and how storm leaks manifest differently
Not all roofs react the same to heavy weather. In the Netherlands, you’re likely to encounter pitched roofs (tile or thatched), flat roofs (bitumen or PVC), and industrial roofs (sandwich panels or metal sheets). Each demands its own approach, as we see across Belgian and Dutch roofs:
- Pitched tile roofs – Often suffer loosened tiles or broken ridge caps; water makes its way in through capillary action or overt gaps.
- Flat bitumen roofs – Vulnerable to pooling and seamless breakage that causes slow, hidden leaks beneath the membrane.
- Green roofs – Storms can dislodge vegetation, compact soil unevenly, or undermine waterproofing layers.
- Thatched roofs – Small animals or wind can create subtle entryways, with leaks often emerging days later.
Knowing your roof type helps target your interior checks. Use natural language queries—like “Why is there water dripping near my chimney?” or “What does a roof leak smell like?”—to precisely trace and communicate your findings.
Modern technology and professional services for safe leak detection
Why guess when you can measure and know for sure? Industry leaders like Ultrices Lekdetectie use advanced tools—compliant with the latest European leak trace protocols:
- Endoscopic cameras – Tiny, flexible cameras snake between roofing layers or through attic access for live images of suspected leaks.
- Ultrasonic testers – These devices pinpoint water ingress by detecting sound waves produced by water movement.
- Dye testing – In cases where water paths are hidden, non-toxic dyes help visualize the leak’s journey and pinpoint the breach.
- Non-destructive moisture mapping – Instead of breaking into your ceiling, we deploy non-invasive mapping tools to locate damp zones.
Choosing VCA certified partners, like Ultrices Lekdetectie, gives you peace of mind: every technician is trained in up-to-date safety protocols, insured, and works to “no cure, no pay” standards. Within three days, you’ll receive an expertise report—useful for your insurance claim and long-term peace of mind.Need expert help fast? If you’re dealing with a suspicious leak after a severe storm and want absolute certainty, trust lekkage opsporen professional Nederland for the most accurate, safe, and cost-effective detection service in the country. Act now—our fixed-planned service of €395, with no-cure no-pay guarantee, covers thorough, non-destructive checks across Belgium and the Netherlands.
Tips for ongoing prevention of roof leaks after storms
Once you’ve checked for—and ideally fixed—current issues, prevention is everything for next time. Here are our top, science-backed suggestions to keep your roof leak-free:
- Clear gutters and downspouts regularly – Prevent blockages so water can safely drain off even in heavy downpours.
- Arrange an annual inspection – Allow professionals to spot early warning signs of weather-weakening or hidden damage.
- Trim overhanging branches – Reducing physical impact potential limits risk of future leaks caused by storm debris.
- Upgrade flashing if needed – Older lead or tin flashing often corrodes; modern flexible polymers seal more effectively.
- Use a checklist after every storm – Document and photograph any changes, so you can track problem progression or communicate clearly with your insurance and experts.
Looking for in-depth guidance tailored to your home? Explore what makes us the go-to experts for lekkage detectie zonder hak- en breekwerk—and safeguard your property with professional insight and the latest detection technologies. Your safety and your roof’s integrity are always our top priorities.
FAQ
1. How can you check for roof leaks after a storm without climbing on the roof?
Grab a flashlight and look inside your attic for water stains, drips, or damp insulation—these are telltale signs of leaks. You can also scan your ceilings and top-floor walls for discoloration or bubbling paint. Remember, stay off the roof after a storm; shingles can be slippery and unstable!
2. What’s the safest way to spot visible damage from the ground?
Use binoculars to inspect your roof from a safe position in your yard. Look for missing shingles, sagging gutters, or debris piled up on the roof. If you see noticeable damage, ring in a pro like Ultrices Lekdetectie—don’t take unnecessary risks yourself.
3. Are there hidden signs of leaks I should watch for indoors?
Absolutely! Musty smells, peeling wallpaper, or soft patches in your ceiling are all red flags. After one nasty storm in Rotterdam, a customer noticed a faint odor, leading us to a hidden leak most wouldn’t have found until major damage occurred.
4. How can you test for leaks without causing further damage?
After the storm passes, run a controlled water test by gently spraying your roof with a garden hose—while someone else observes inside for drips. Always do this from the ground—never use ladders after a storm, as surfaces are likely unsafe.
5. When is it best to call a professional for leak detection?
If you spot any damage, see water or mold indoors, or are just unsure—get help. Ultrices Lekdetectie uses specialized no cure no pay methods (like thermal imaging) to pinpoint leaks fast, saving you money and major repairs down the line. Your safety comes first, always!


