DIY Home Improvement Projects That Create Affordable Upgrades With Professional Results
You do not need a full renovation, a contractor’s budget, or a garage full of power tools to make your home look dramatically better. Some of the most convincing upgrades cost between $50 and $400, take a weekend or less, and rely more on careful preparation than on advanced skill. A freshly painted room with crisp edges, a dated kitchen with new hardware and lighting, or an entryway with proper storage can feel like professional work when the details are handled well.
The secret is choosing projects where effort shows. Professionals plan the order of work, measure twice, prepare surfaces properly, and finish every edge. This guide covers the projects that give the best return for your money, how to equip yourself without overspending, and the finishing habits that make affordable work look expensive.
Choosing the Right DIY Projects
Start where you will see the result every day. Hallways, living rooms, kitchens, and the main bathroom reward effort far more than a spare room you rarely enter. Walk through your home with a notebook and list what actually bothers you: scuffed walls, a wobbly tap, a closet that spills, or flooring that makes a cleaned room still look tired. Rank each item by visual impact, cost, and difficulty, then begin with something you can finish completely in one or two days.
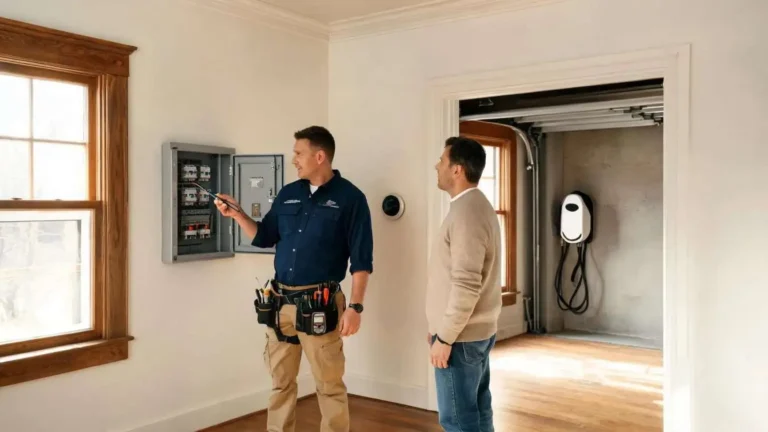
Be honest about scope. Good first projects share three qualities: they need no structural changes, no permits, and no work on live electrical circuits or pressurised plumbing. Painting, hardware swaps, shelving, click-lock flooring in one room, and sealing and re-caulking a bath all qualify. Leave roof work, moving walls, new circuits, and gas lines to licensed professionals, however confident you feel after watching videos.
Budget for the whole job, not just the hero product. Paint needs primer, tape, and brushes. Flooring needs underlay, spacers, and trim. Add 20 percent to your first estimate for these extras and for one mistake you will learn from.
Tools and Materials on a Budget
A capable starter kit costs less than most people expect, especially if you buy in stages. Rent or borrow specialist tools such as tile cutters, floor rollers, and hammer drills for a single weekend instead of buying them. For everything else, own the basics and buy better versions only of the tools you use constantly.
- Core kit, roughly $120 to $180: cordless drill-driver, tape measure, spirit level, utility knife, stud finder, hammer, and a set of screwdrivers.
- For painting and repairs: 5-in-1 painter’s tool, putty knife, sanding sponge, caulk gun, and a good 2.5-inch angled brush.
- For flooring and builds: combination square, rubber mallet, pull bar, handsaw or jigsaw, and safety glasses and ear protection.
Buy materials in the right order. Measure first, check what is already in your garage, then collect the main items and small extras in one trip. Mid-range paint, hinges, and drawer runners are worth paying for because cheap versions fail early. Save instead on offcuts for shelving, ex-display fittings, and remnant flooring for small rooms.
Painting and Wall Upgrades
Paint is still the cheapest way to change a room, at roughly $30 to $60 per gallon for quality paint that covers in two coats. The difference between an amateur and a professional result is almost entirely preparation. Fill dents and let filler dry fully, sand it smooth, wash greasy kitchen walls, and wipe away dust before opening the tin. Skipping an hour of prep is what creates peeling, flashing, and visible patches later.
Use painter’s tape on trim and ceilings, but do not rely on it alone. Cut in edges with an angled brush in a steady line, keep a wet edge as you roll, and remove tape while the final coat is still slightly tacky for the cleanest line. Work in daylight when possible, because warm evening bulbs hide missed patches that morning light will expose.
Wall Treatments That Look Built In
Once plain painting feels easy, simple wall treatments add the character buyers and guests notice. Board-and-batten or picture-frame moulding in a hallway can cost $60 to $150 in timber strips, adhesive, and paint, yet reads as custom carpentry. A single painted accent wall behind a bed or sofa costs even less. Keep proportions measured and symmetrical, use a level for every piece, and caulk every seam before painting so the treatment and wall become one surface.
Flooring and Tile Projects
Floors change how a whole home feels underfoot and in photographs. Luxury vinyl plank with click-lock edges is the most forgiving upgrade for beginners: it is waterproof, cuts with a knife or saw, and costs about $2 to $4 per square foot. A 120-square-foot bedroom can often be finished for $350 to $550 including underlay and trim. Prepare by removing old trim carefully, checking the subfloor is flat, and leaving an expansion gap around the edges that the new trim will hide.
Lay out the room before committing. Plan plank direction, usually toward the main light source, and dry-lay the first rows so you do not end with a sliver of a plank at the far wall. Stagger joints by at least six inches and work patiently around door frames, because rushed cuts at thresholds are where DIY floors reveal themselves.
Small Tile Jobs With Big Impact
Tile rewards the same patience on a smaller scale. A kitchen backsplash of 15 to 25 square feet is a manageable first tile project, often $100 to $250 in tile, adhesive, and grout. Use spacers consistently, check level every few rows, and wait the full curing time before grouting. In bathrooms, regrouting and re-caulking tired joints for under $30 can make existing tile look newly installed without replacing a single piece.
Kitchen and Bathroom DIY Upgrades
Kitchens and bathrooms sell homes, but they also improve daily life the most, and many of their best upgrades need no demolition. Swapping cabinet handles and knobs costs $2 to $6 per piece and takes an afternoon, yet it modernises dated cabinets instantly. If the cabinet boxes are sound, painting the doors with proper degreasing, sanding, and a durable cabinet paint can save thousands compared with replacement.
- Kitchen wins under $250: new hardware, an under-cabinet LED strip, a replacement faucet, and a painted or tiled backsplash.
- Bathroom wins under $250: a new mirror and light fixture, a modern faucet and showerhead, fresh caulk, and a framed mirror or new vanity handles.
- Spend carefully here: choose one focal upgrade per room, such as the faucet, and let the smaller changes support it.
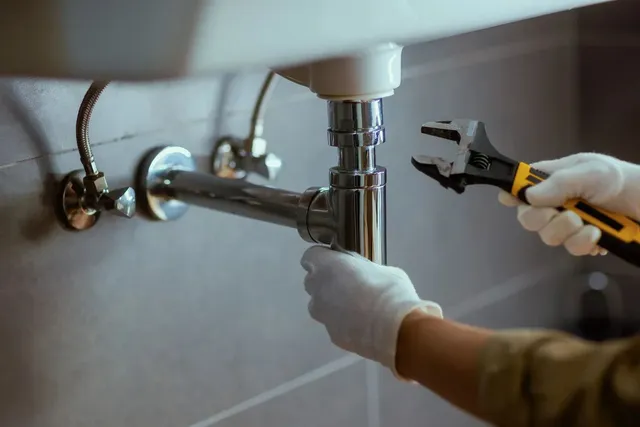
Work safely in wet rooms. Turn off water at the isolation valve before changing a faucet, test for leaks with dry tissue around every joint, and use mould-resistant silicone in baths and showers. In both rooms, better lighting does quiet heavy lifting: a warm-white LED fixture at 2700 to 3000 kelvin makes skin tones, food, and paint colours all look better than harsh blue-white light.
Storage and Organization Builds
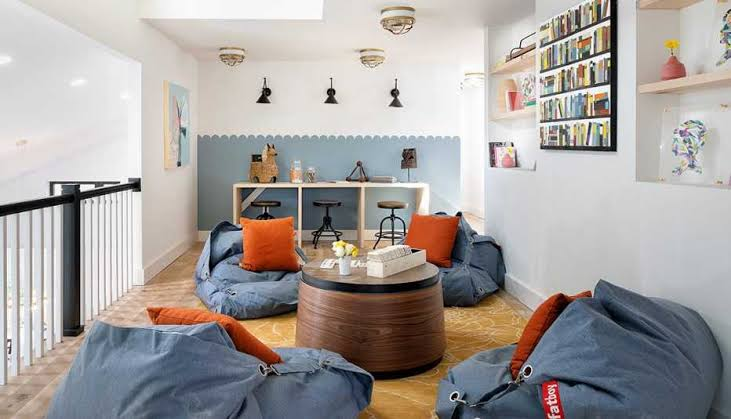
Homes feel larger when everything has a place, which is why storage projects punch above their cost. Floating shelves in a kitchen or living room can be built and finished for $40 to $100 using timber boards and hidden brackets, provided you fix into studs or use proper wall anchors. Inside closets, adding a second hanging rail, a few shelves, and labelled boxes often doubles usable space for under $120 without replacing the whole system.
Build for the way you actually live. An entryway with hooks, a bench with shoe storage beneath, and a shelf for keys stops clutter spreading through the house. In a garage, simple timber shelving sized for the bins you already own is cheaper and stronger than many flat-pack units. Measure the bins first, leave two inches of clearance, and label everything the same day.
Finishing Like a Pro
Finishing is a set of small habits, not a talent. Fill nail holes and let the filler shrink and dry before sanding. Caulk gaps between trim and walls so joints disappear under paint. Check alignment with a level rather than your eye, because walls and ceilings are rarely straight. Keep a damp cloth in your pocket while painting and caulking, and clean every spill immediately instead of at the end of the day.
Finally, respect drying and curing times. Paint that feels dry can still mark when furniture is pushed back too soon, and grout and silicone need the hours stated on the packet. Build that waiting time into your plan, then make a short snag list the next morning. Fixing three small items on it is often the entire difference between a good DIY job and one people assume was hired out.
Final Thoughts
Affordable upgrades look professional when you choose visible projects, prepare properly, buy sensibly, and finish every edge as if someone will inspect it closely, because you will see it every day. Start with one room, one weekend, and one project you can complete fully rather than three started at once. Each finished job teaches you a skill and funds confidence for the next. Over a season of steady weekends, those small, well-finished projects add up to a home that feels renewed, functions better, and costs a fraction of a full renovation.
Frequently Asked Questions
What is the best first DIY project for a complete beginner?
Painting a bedroom or hallway is the safest start. It needs few tools, costs little if you make a mistake, teaches preparation and cutting in, and delivers a dramatic result in one or two days that builds confidence for harder projects.
How much should I budget for a noticeable upgrade?
Plan on $100 to $400 per room for paint, hardware, lighting, and storage changes combined. Add 20 percent for sundries and one mistake. That budget will not remodel a kitchen, but it will make most rooms look deliberately finished rather than dated.
Do I need expensive tools to get professional results?
No. A drill-driver, level, tape measure, and good brush cover most beginner projects. Rent specialist tools by the day, borrow rarely used items, and only upgrade a tool to a better version when you have worn out or outgrown the basic one.
How do I avoid a project looking unfinished?
Complete the finishing steps: fill, sand, caulk, touch up paint, refit trim, and clean the room fully before calling it done. Most unfinished-looking work simply stopped one step early, so keep a short snag list and clear it the following morning.
When should I hire a professional instead?
Hire a licensed professional for structural changes, new electrical circuits, gas work, major plumbing moves, and anything needing a permit. The money saved by doing the surrounding painting, tiling, and fitting yourself still keeps the overall project affordable.